The holidays are the time of year that most people decide to redecorate their home. Redecorating the kitchen can often be a laborious task for most people and there are many factors that make it so stressful.
Removing the kitchen tiles without creating considerable damage to the wall underneath can be difficult if the choice of tools isn’t correct. Therefore I have put together some simple how to tips to make the job much easier.
Equipment:
- Safety protection including dust mask, goggles and gloves.
- Grout remover
- Chisel
- Rubber mallet
- Ground sheet
Preparation…
To keep mess to a minimum it is very important to prepare for the task ahead. Protect the floor with a ground sheet to catch the debris. Ensure you have your whole body covered including some hard bottom shoes. Tile shards are often as sharp as glass so ensure you are protected beforehand.
Remove grout…
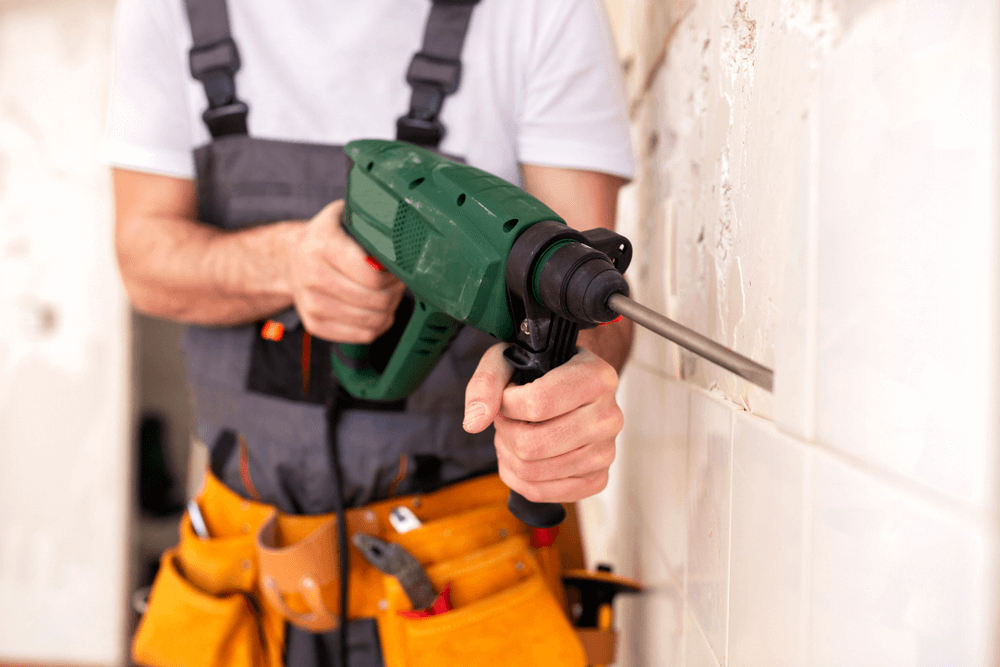
With special grout removing tiles from the hardware store begin by removing the grout from around a patch of tiles at a time. It is worthwhile to buy tools especially for this job to ensure that the kitchen tiles are removed as easy as possible. Power tools are also available for the job but remain aware of the wall behind otherwise you will create a much bigger job.
Removing the tile…
When removing tiles many people think that to begin with the corner is the best option but this could result in the tile breaking creating a harder task. Take a chisel to the side of the tile and begin by sliding it under the outsides of the tile. Then tap lightly with the rubber mallet. If this doesn’t remove it start chiselling firmer until you get an understanding of how much pressure that is required to remove the tile.
Continuing…
The initial tile will be the hardest to remove because the surrounding tiles are holding it in place. The more tiles that are removed the easier the job becomes. If you have more than a few rows of tiles try to get into a routine. Removing the grout from around four at a time and then removing the tile. With a routine you will be able to work faster making the task less laborious.
Finishing…
After removing the tiles, there’s no doubt that your wall is looking a little rough with leftover grout and adhesive. This can be removed with a tough sanding block and finishing off with fine sand paper.